Switching it up
Intro
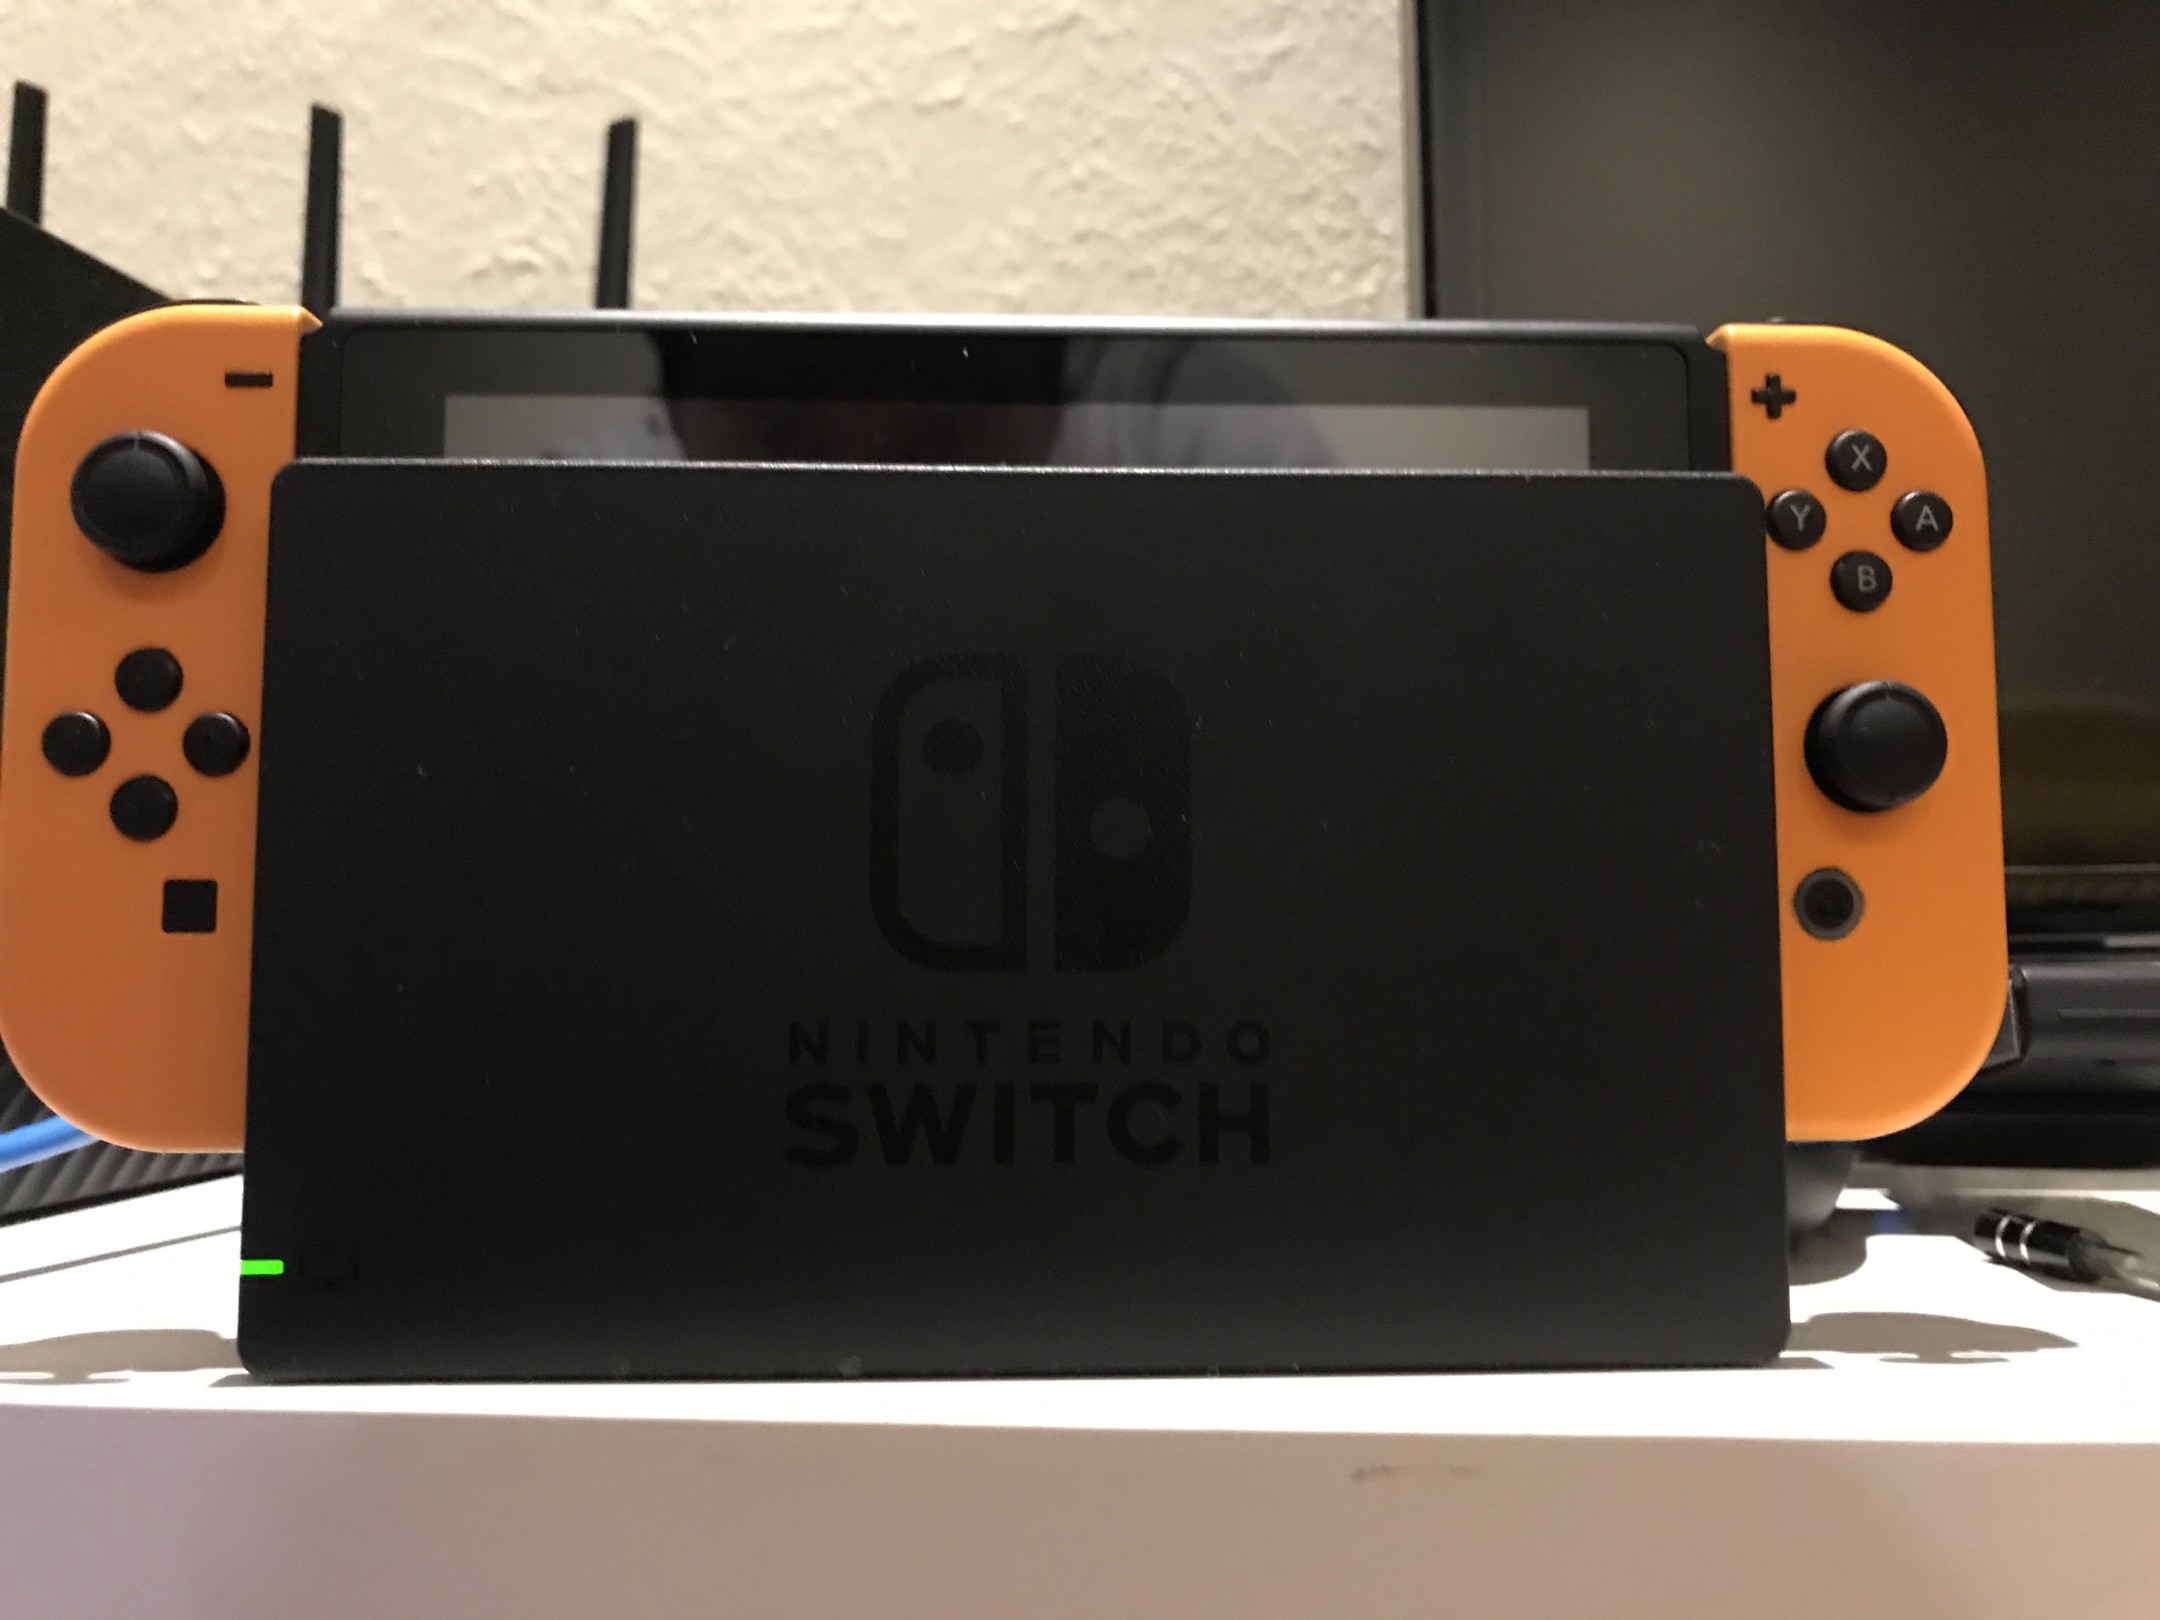
Having beaten Zelda: Breath of the Wild, my Nintendo Switch hasn't seen much use. After defeating Ganon, there was no real drive to return to Hyrule, and I can only replay The Binding of Isaac so many times. Inspired by numerous posts on r/nintendoswitch showcasing custom Joy-Con paint jobs, I decided to give it a try.
The Equipment
Here is a list of all the tools and materials needed for this project:
Mastercraft Specialty Precision Electornics Bit Set, 66-pc
I was impatient and wanted the Y0 tri-wing screwdriver required to open the Switch but didn’t want to wait for shipping. I ended up purchasing this set, which worked perfectly, although it was a bit overkill since I only needed two of the bits.
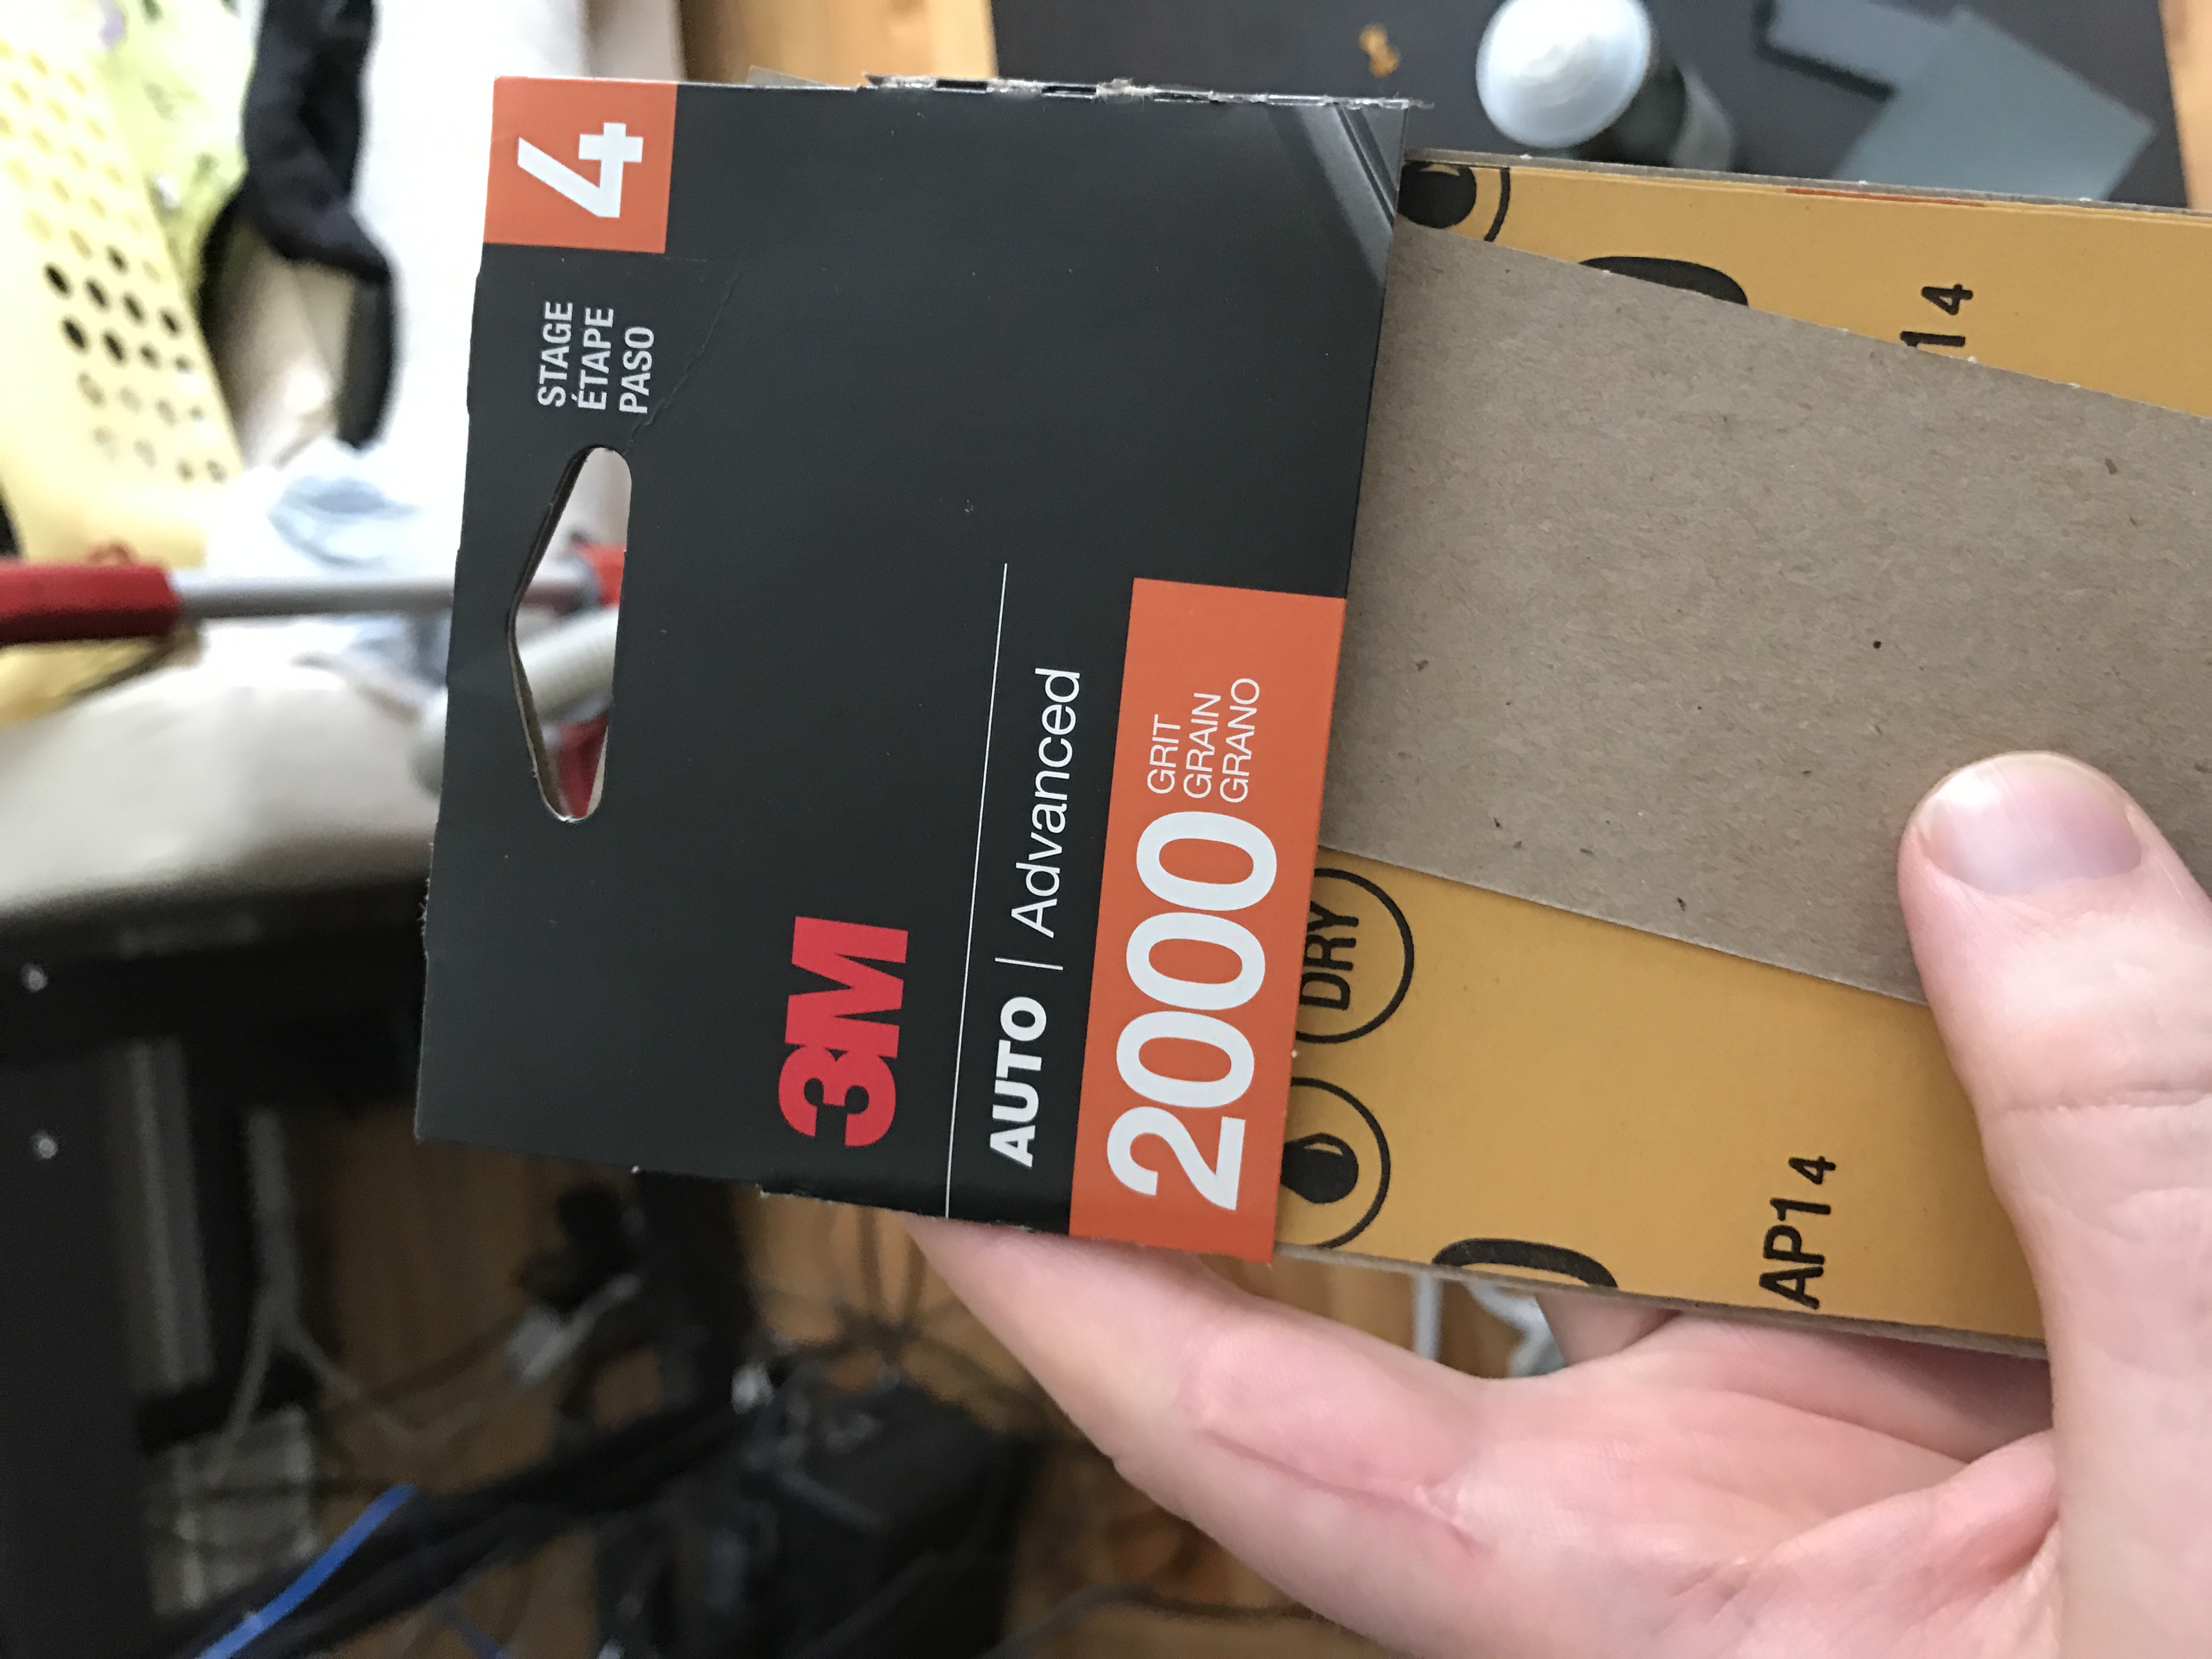
3M Wetordry Sandpaper, 4 x 9-in, 5-pk
I chose this sandpaper because it was fine enough to remove the top protective coating on the Switch controllers without being too coarse.
MTN 94 - RV 207 / Mango
Although I heard Montana Gold was the best paint to use, it isn’t available in Canada. I was told MTN 94 was the next best thing. I picked this up at a local graffiti store in Montreal called Le Sino.
MTN 94 Specialty
For the top layer, I used an acrylic matte varnish.
The Process
Building Confidence
Initially, we needed to find a reliable guide for disassembling the Switch Joy-Cons. We turned to iFixit, but I found their tutorial more focused on the individual components rather than the process of removing the housing. Once we removed the housing, we were somewhat on our own. The biggest source of encouragement and confidence came from those who had already been through this process. I highly recommend taking pictures as you go to aid in the reassembly process.
Removing, not disconnecting
I started by removing components, beginning with the haptic feedback motors, which were easily extracted with a pair of tweezers.

I attempted to disconnect the battery, but the connector was flat against the circuit board and tricky to pull at. Once the battery was disconnected, it was easier to remove more components. It’s crucial to use a tray for this as there are about 8 screws for each Joy-Con, and losing one could be problematic.
Sanding
Once the front and back housings were separated from the internal electronics, I prepped them for sanding. I used M3 2000 grit sandpaper and sanded extensively. I used the faint markings on the back of the Joy-Cons as a guide for how much to sand down. Once the markings were gone, I moved on to the rest of the controller.
Painting
Painting was the most time-consuming part of the process. I used MTN 94 spray paint. Opt for low-pressure paint cans, which allow for an even spray and prevent blasting the paint you've already applied, which can create pools or drips.


I lined up the Joy-Cons’ front and back plates and sprayed them all at once with MTN 94 Mango paint. After spraying, I left the paint to dry for 10 minutes, then applied another coat.
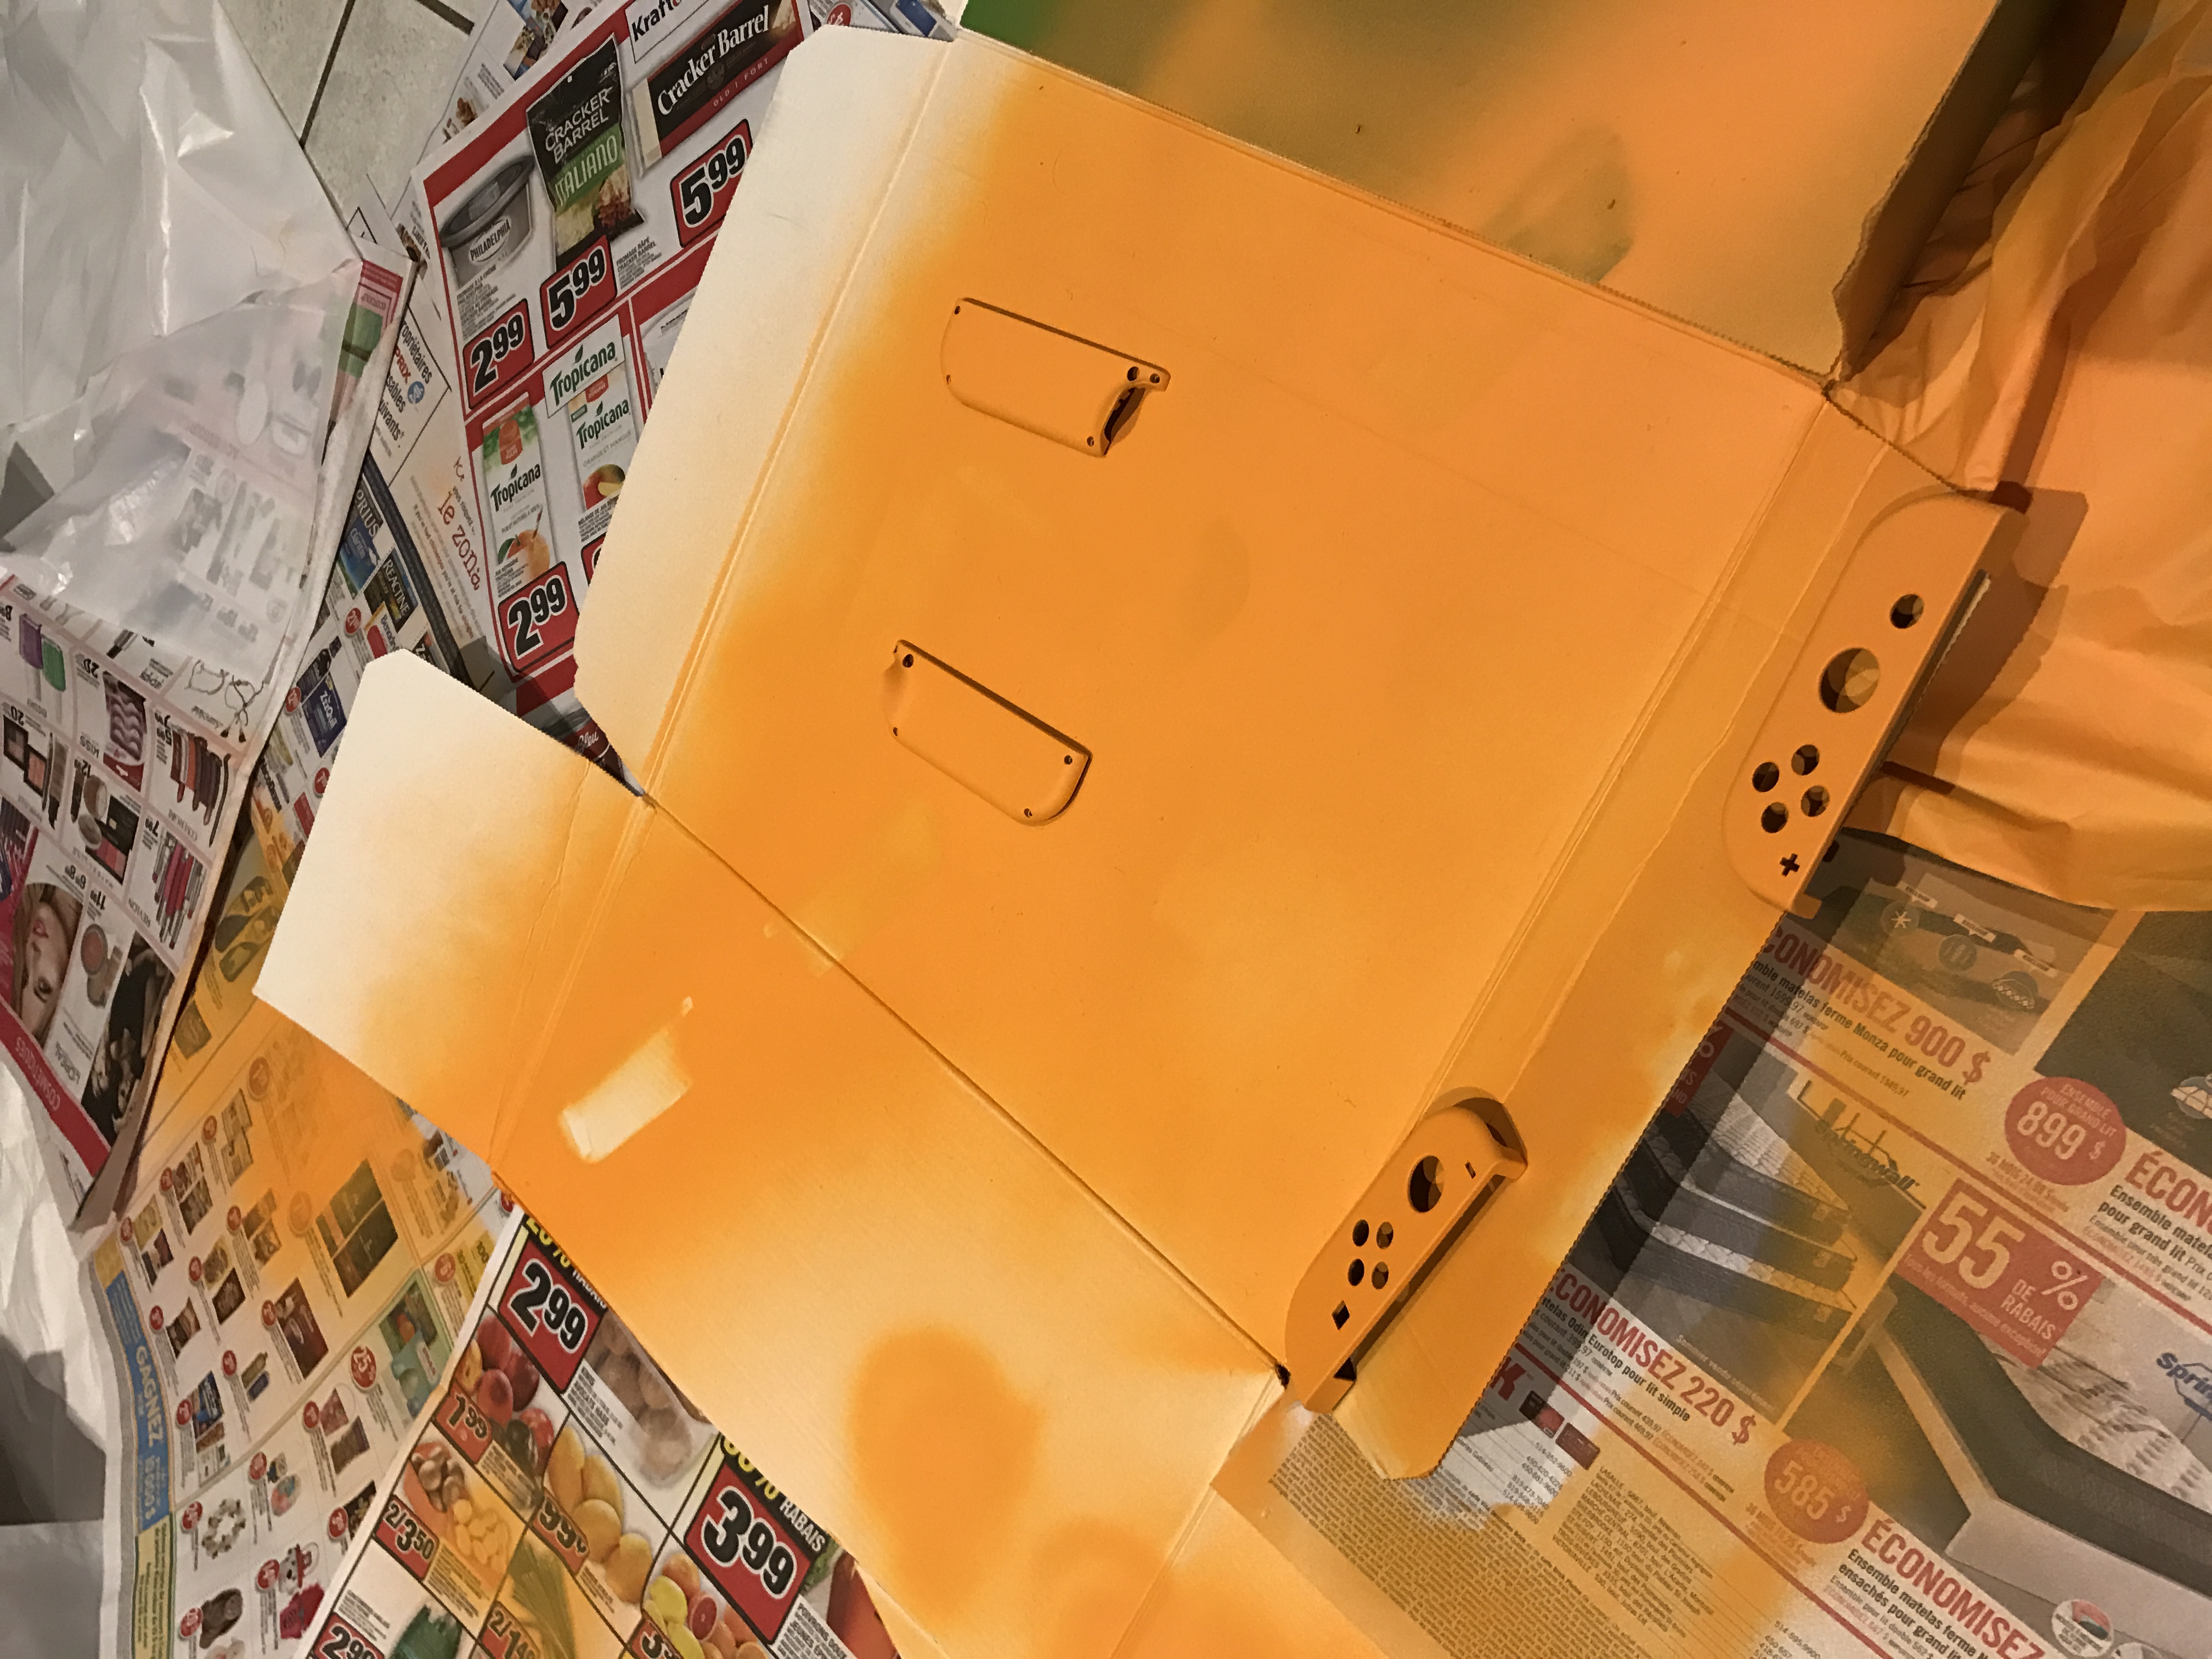
I repeated this 14 times to achieve the desired coverage and thickness.
Waiting for Paint to Dry
This is the tough part—waiting. Your controller is still lying in pieces in a tray, and although the paint job looks complete, the project isn't finished yet. I waited for 24 hours, although I've heard 48 hours is better, before reassembling everything.
Reassembly
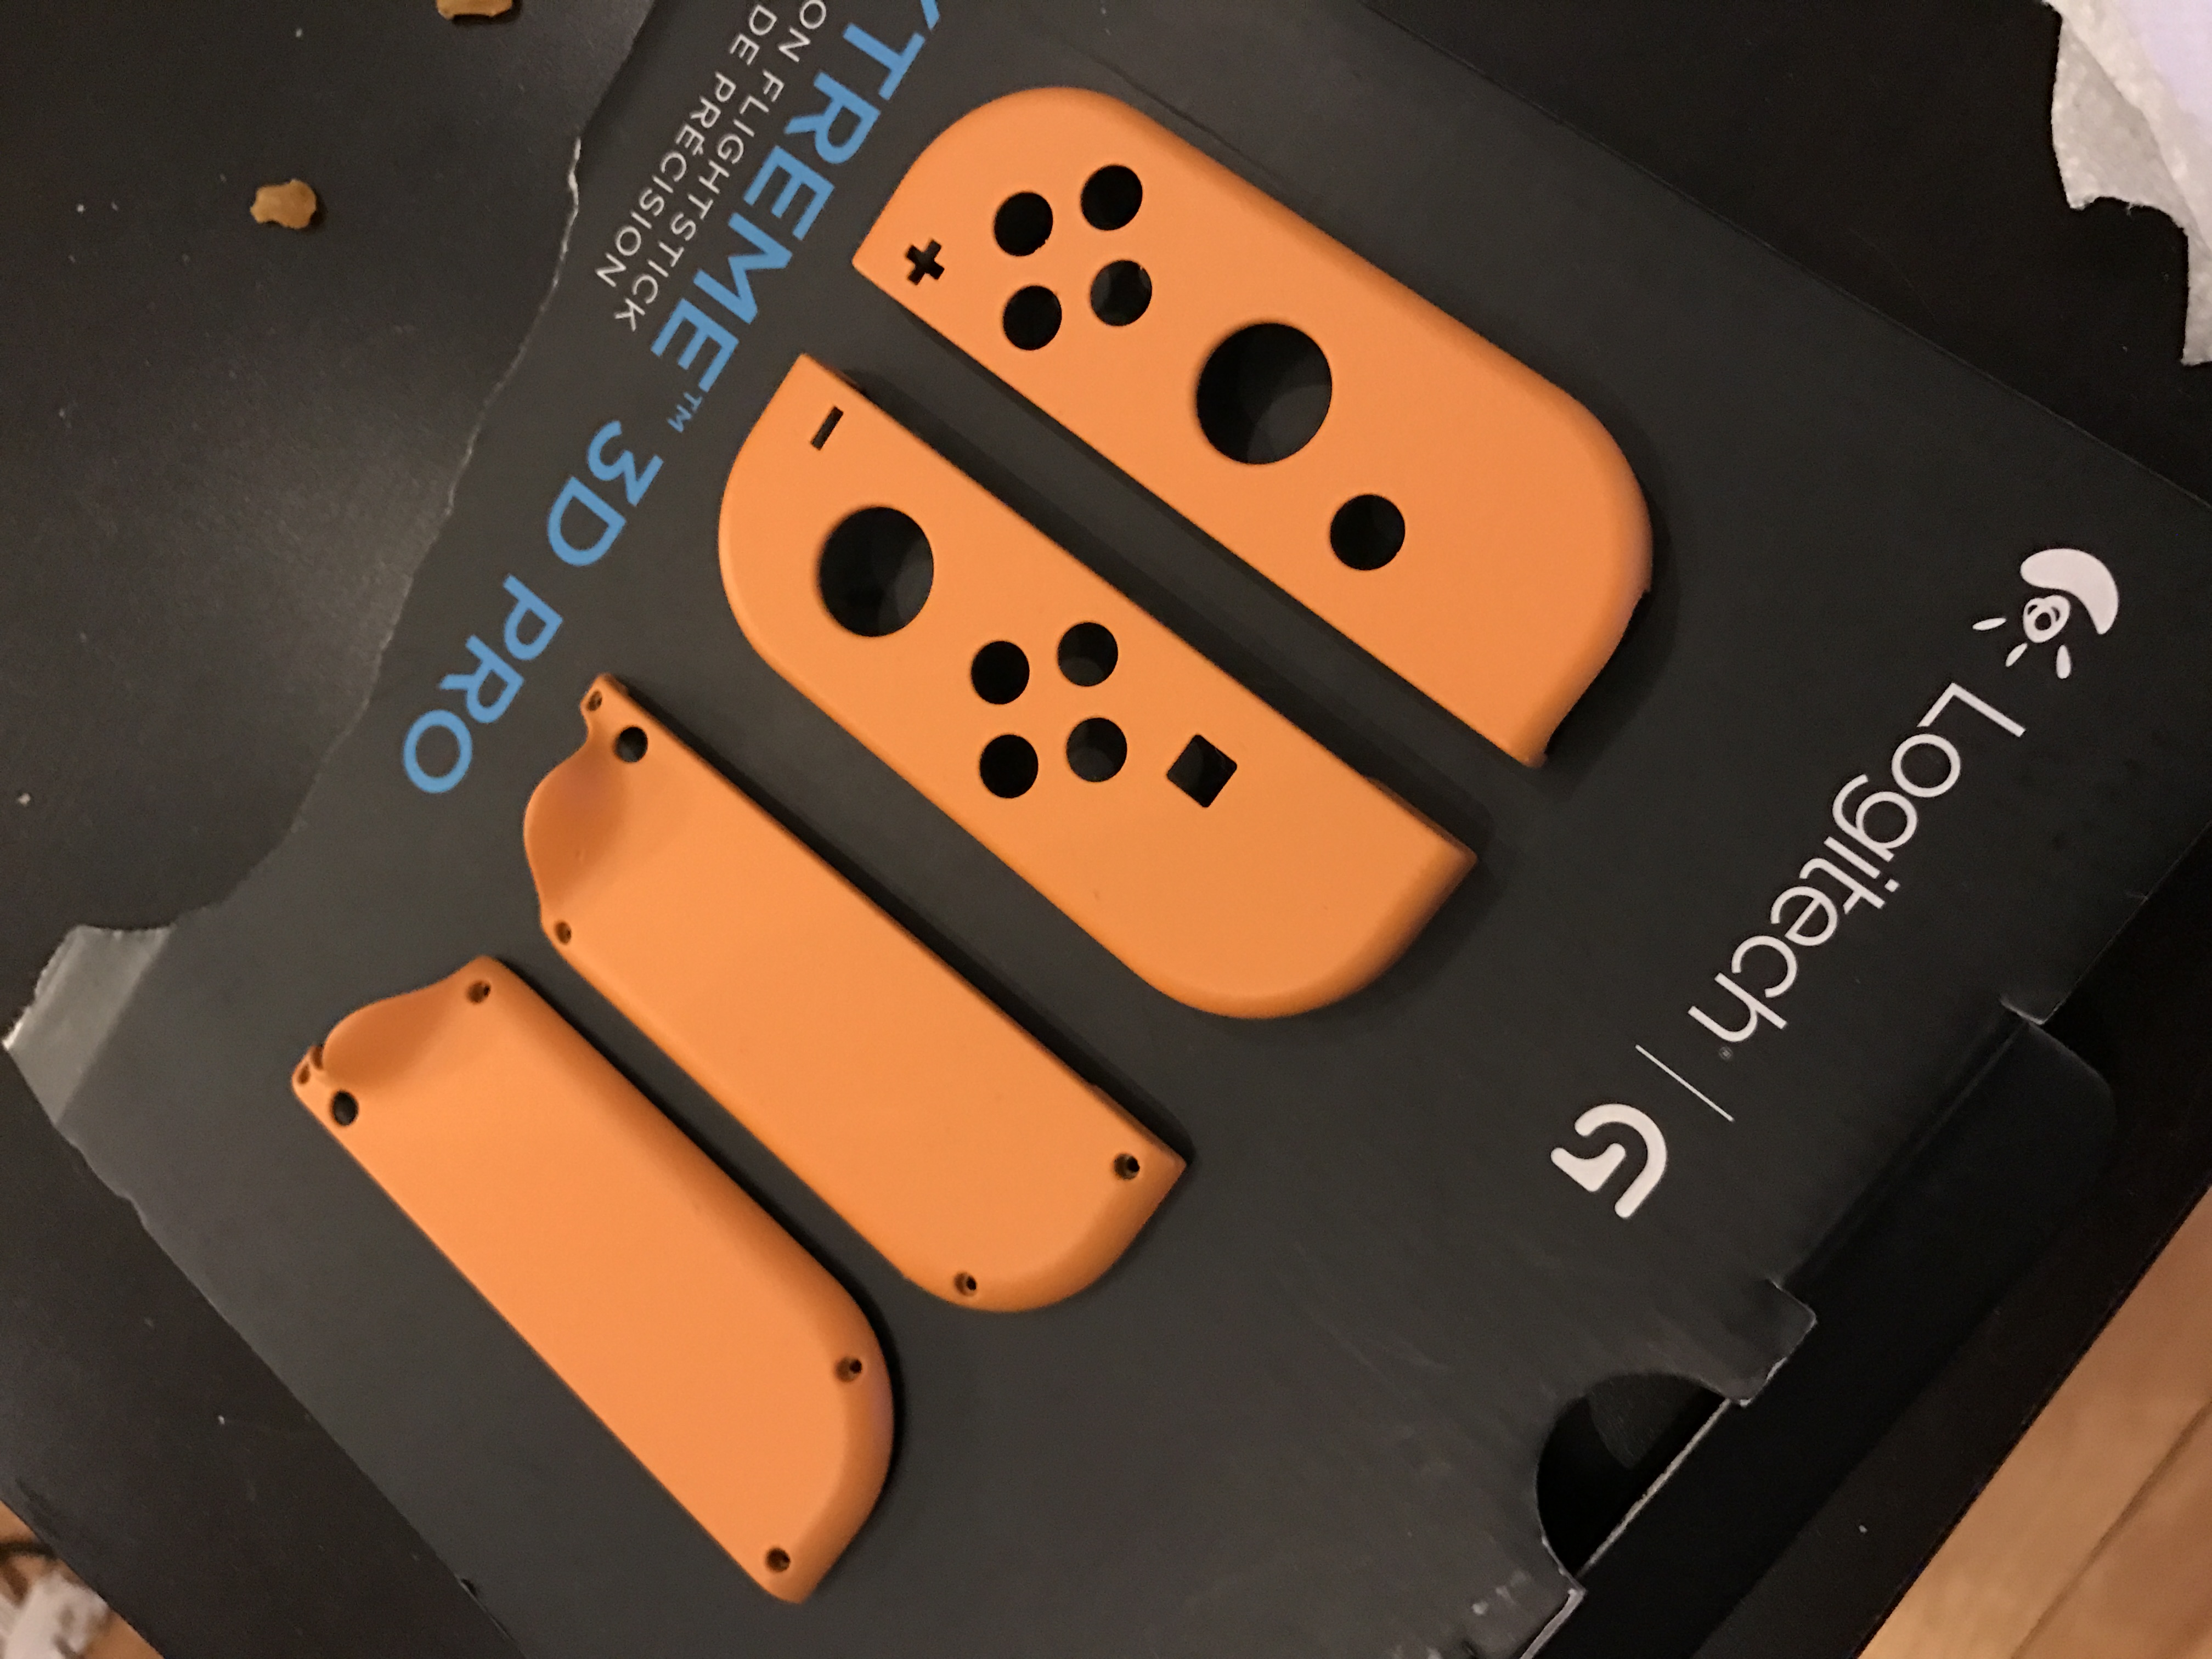
The first pieces to go back were the buttons. I was concerned they might stick due to the extra layer of paint, and indeed, sanding them down proved to be a mistake as it damaged the home button. For those needing to sand, I recommend waiting a full 48 hours to ensure the paint has set completely.
The Final Result
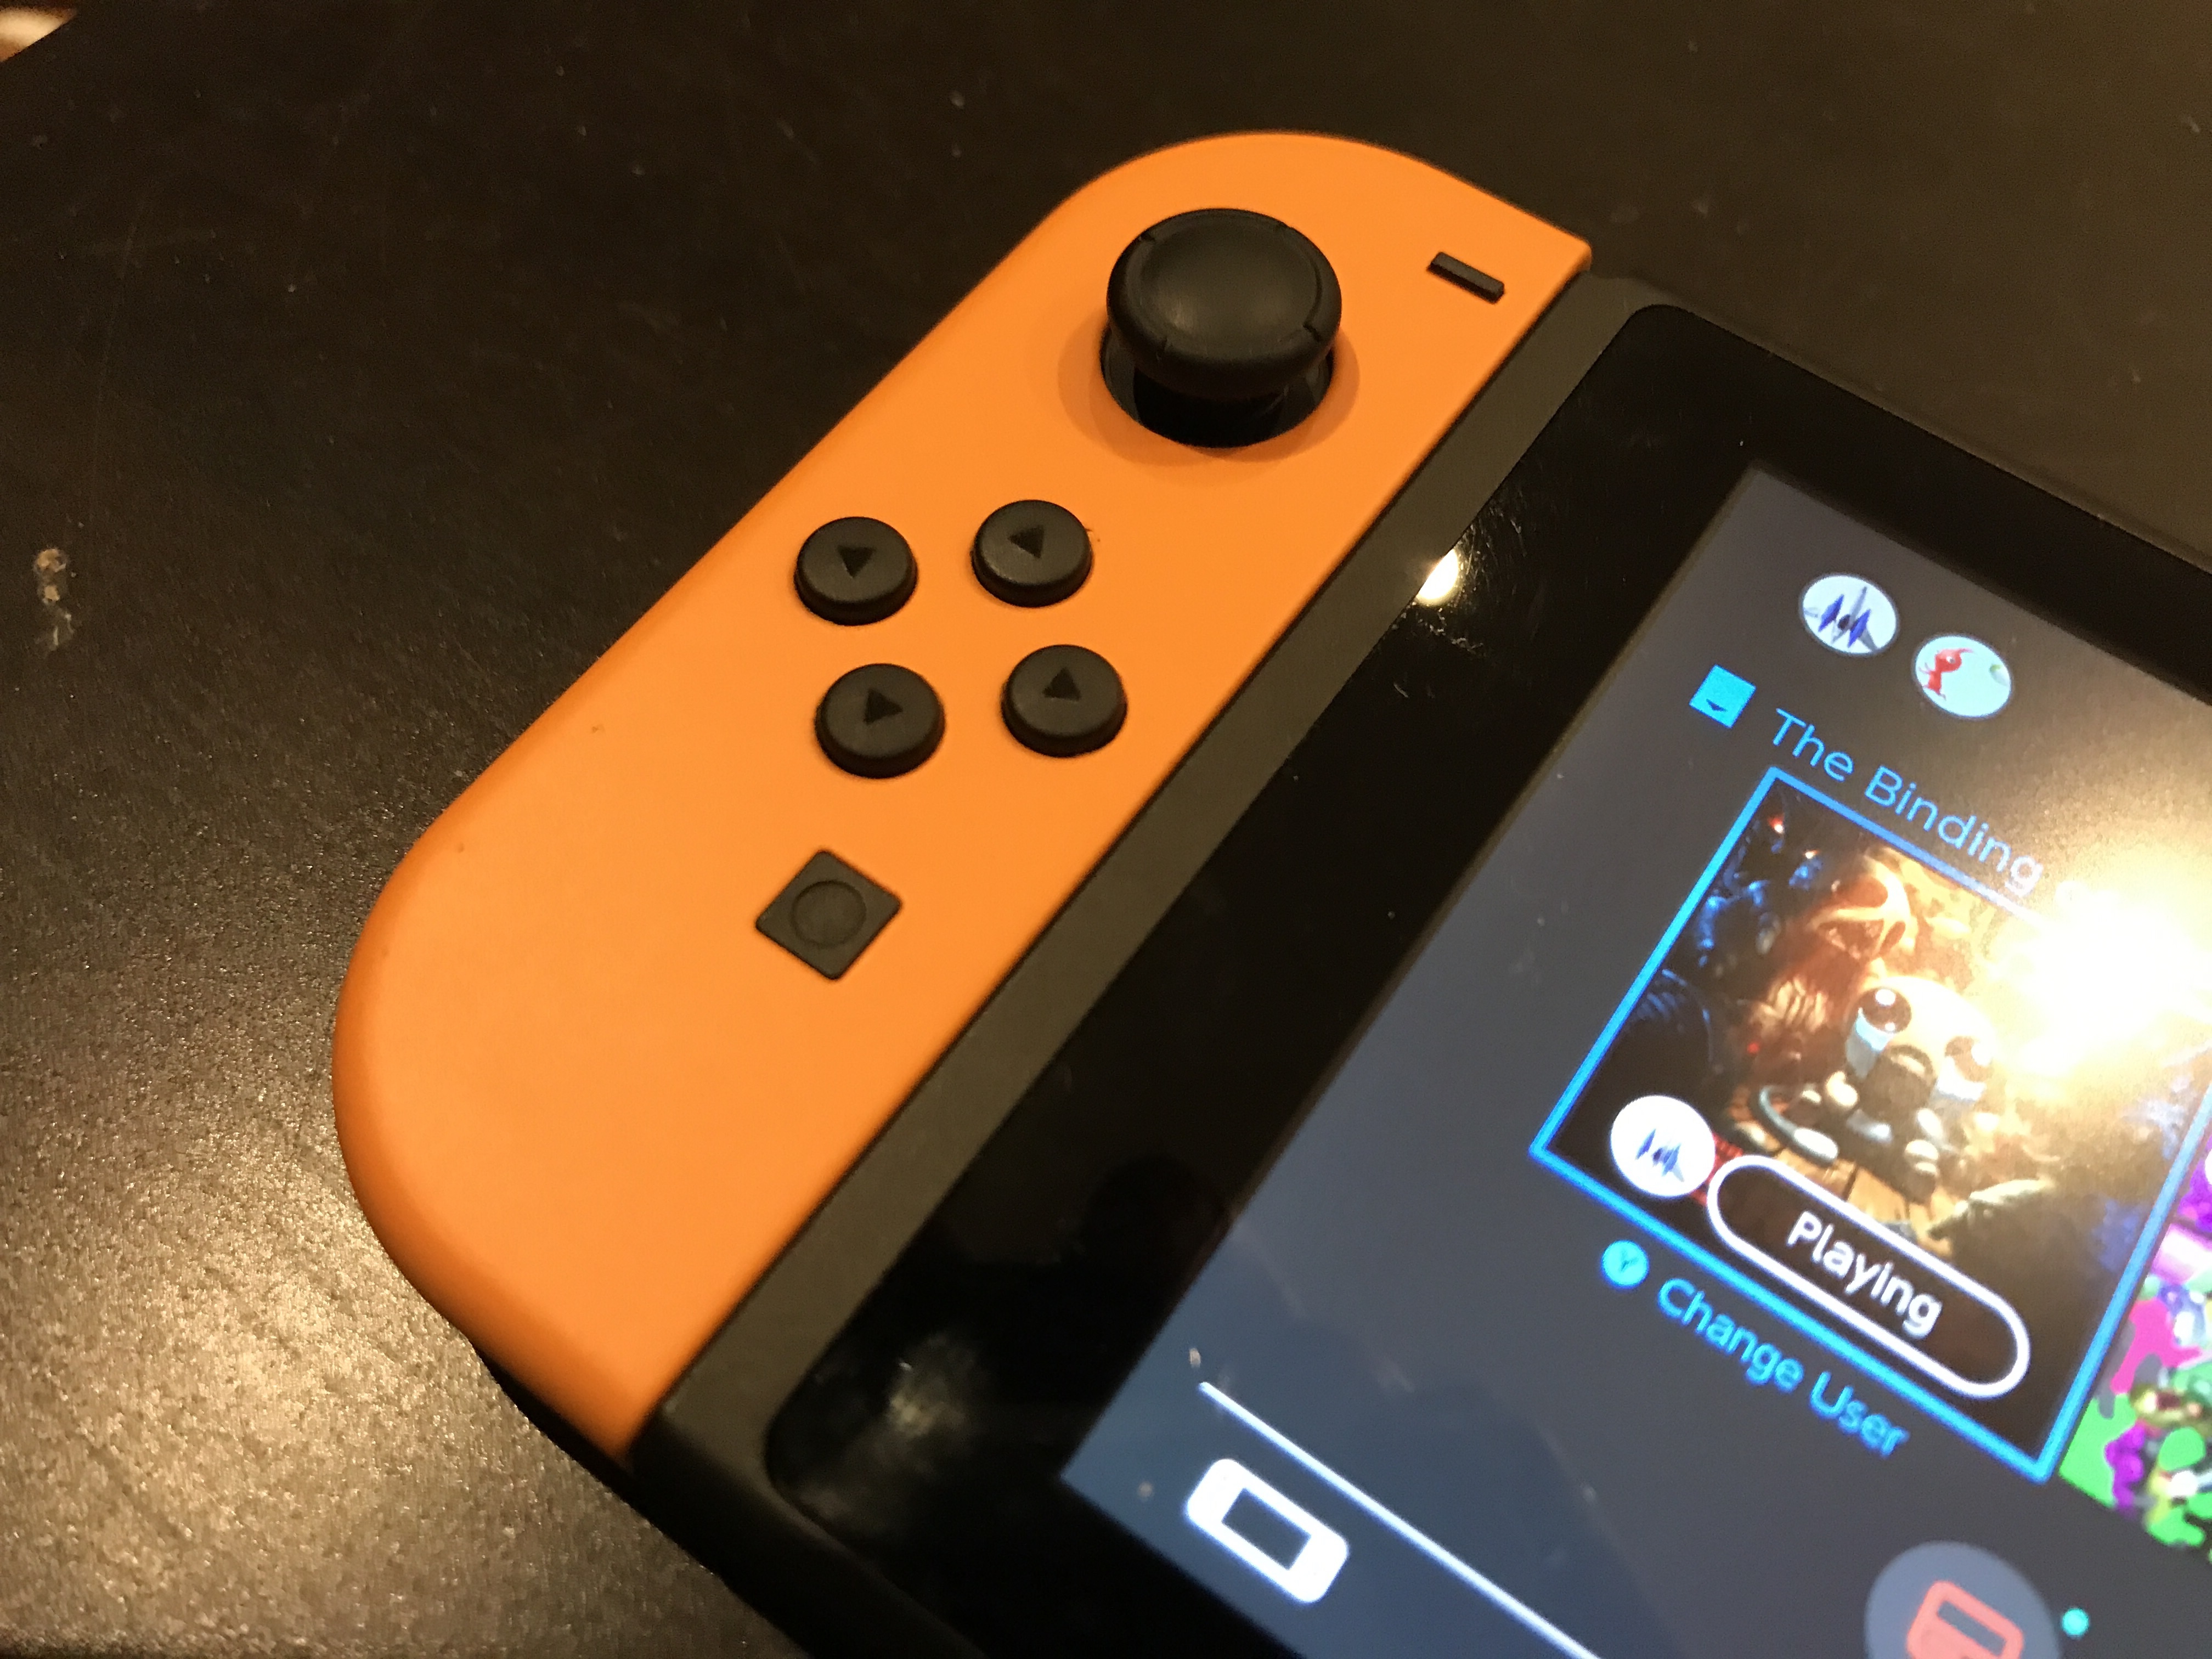
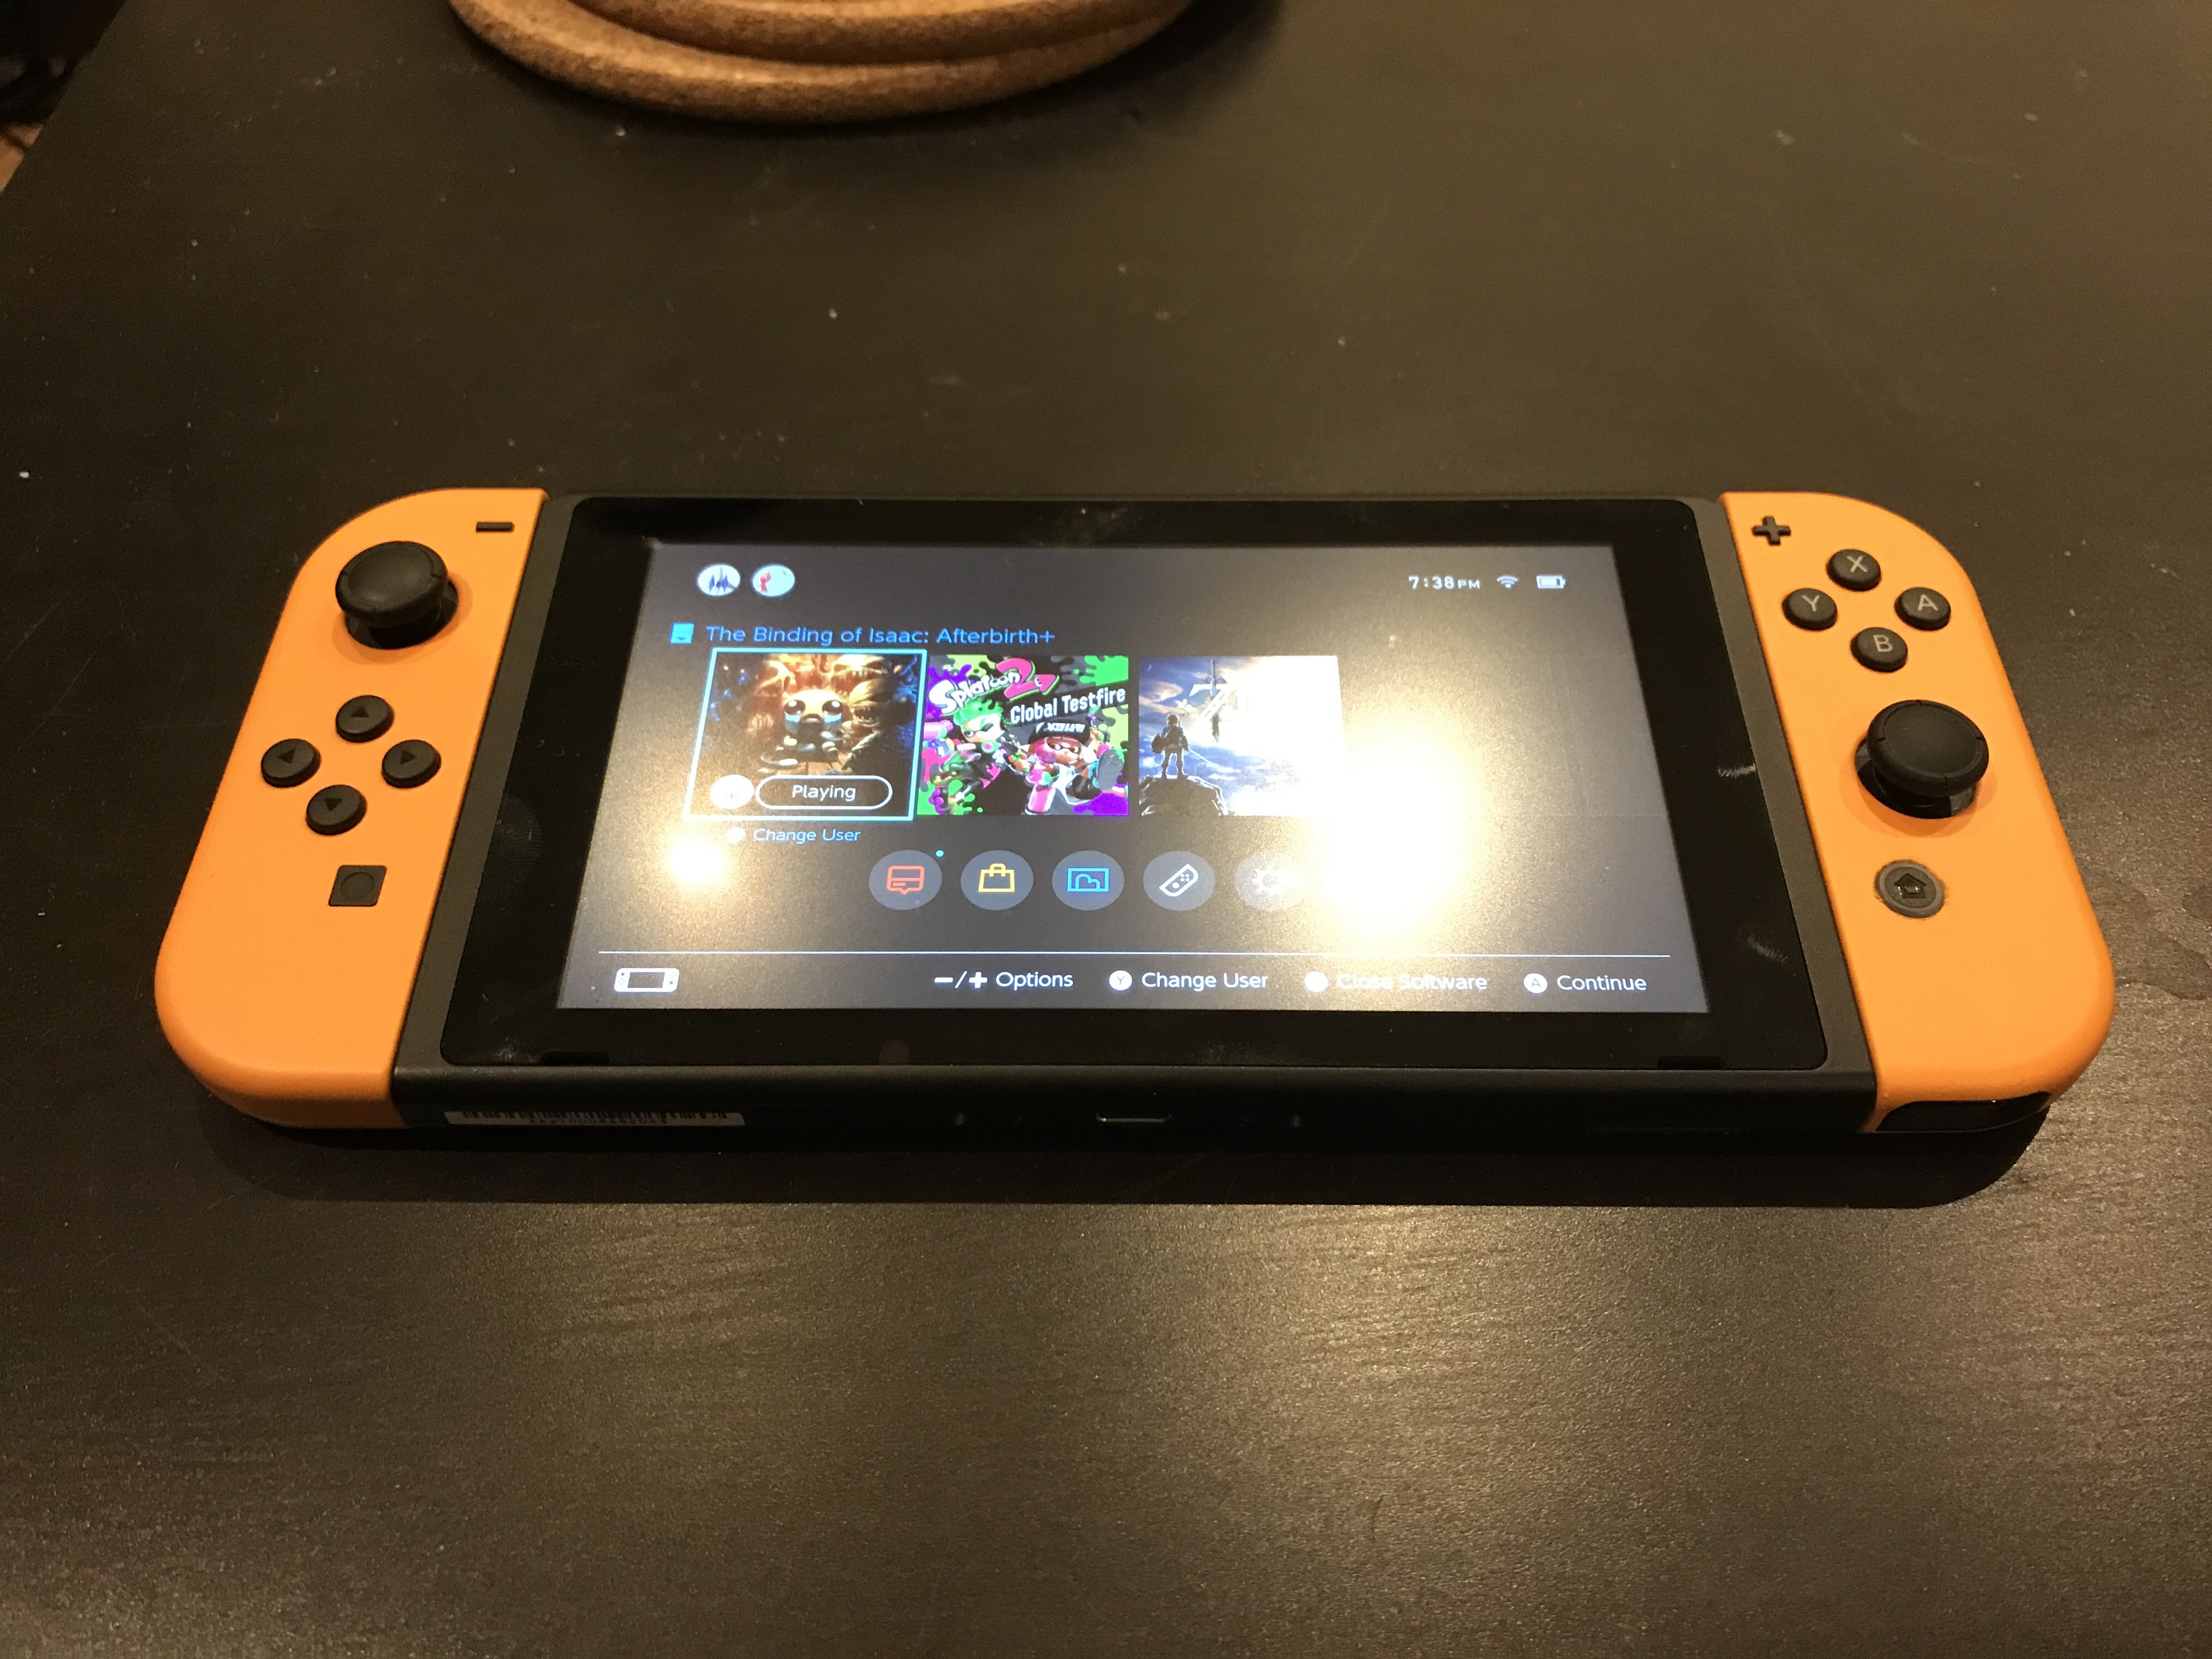
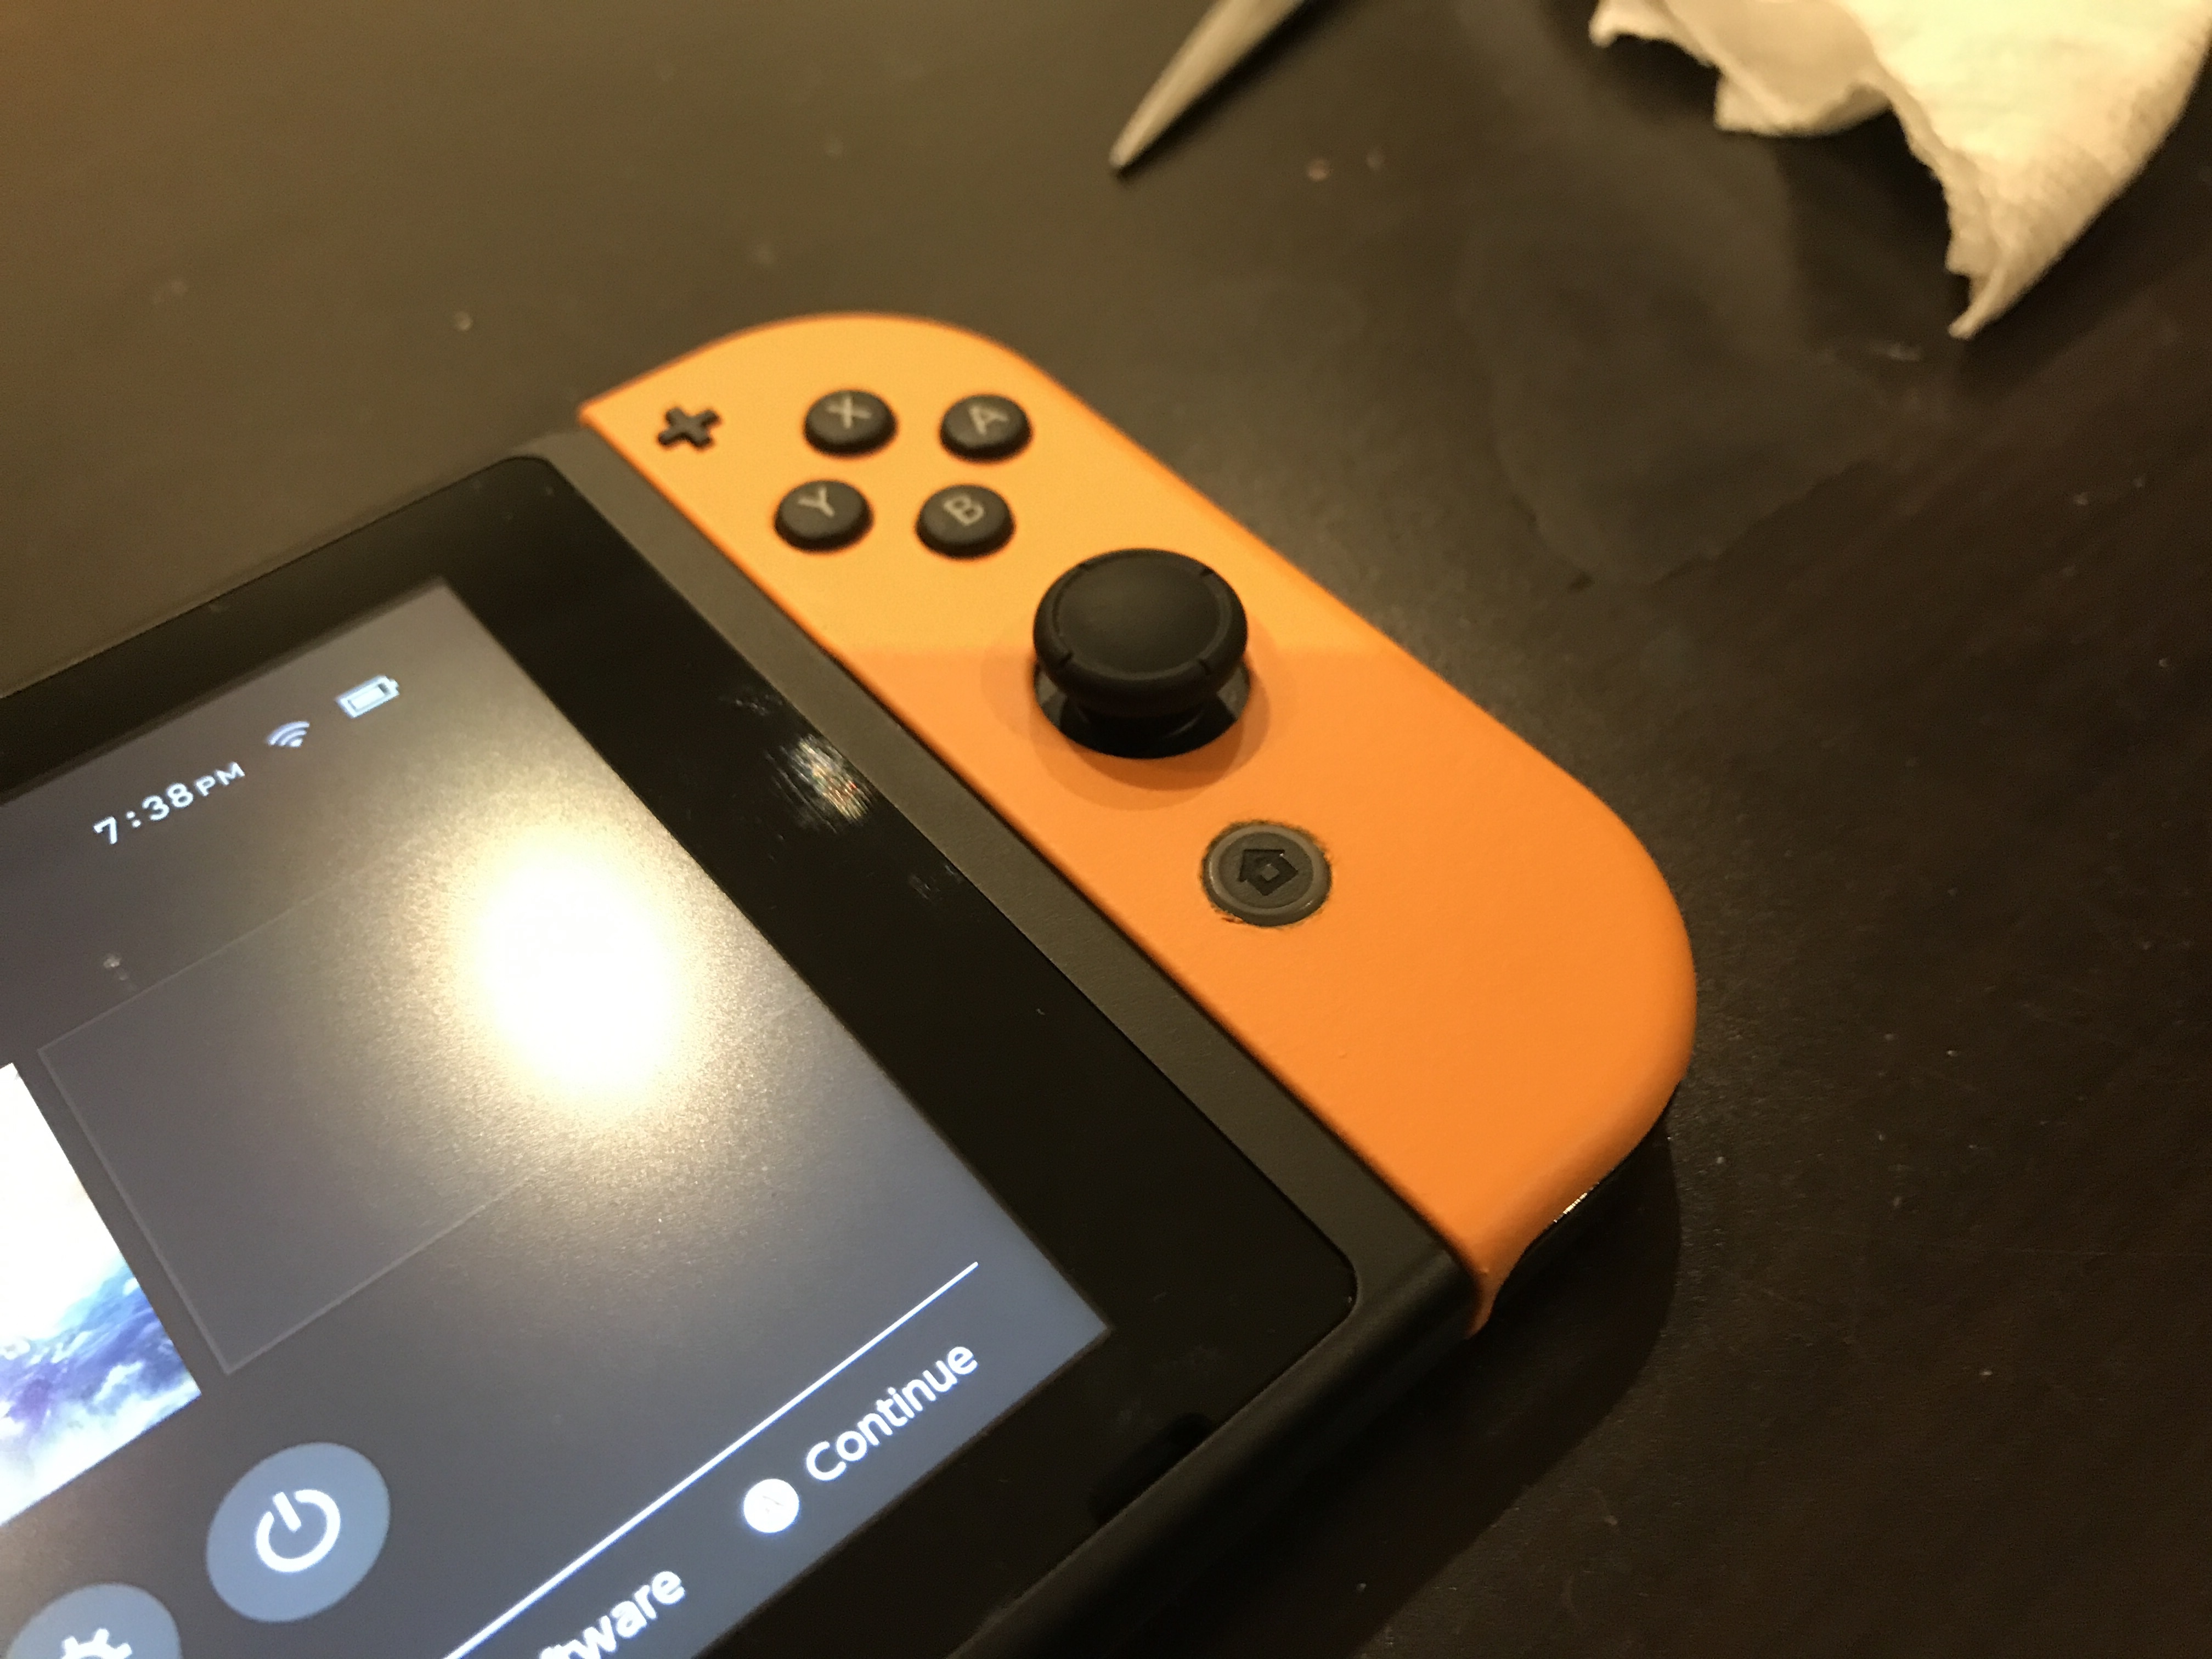
Once reassembled, I was relieved to find everything still worked! This was my first spray paint project and it went quite well. They don’t feel like the original Joy-Cons but are still pleasant to use. I haven’t played extensively since I don’t have other games at the moment.
Conclusion
This project was fun, but I don’t think I would undertake it again. If the paint begins to peel, I may not be inclined to repair it; I’d rather just purchase another controller and leave these as display pieces. It’s still early, but I hope the paint job lasts and the color remains vibrant for some time. As a side note, by 2022, the left joycon started experiencing stick drift and is now used exclusively for Ring Fit!